Scanning documents is the transfer of images (including text content) from paper to electronic format. Scanning is necessary not only for transmitting documents over the Internet, but also for saving old photographs in digital format.
Scanning can occur through equipment specially designed for this purpose - a scanner and through a printer - a device for printing and copying files. Scan via multifunction printer possible using a special program and computer settings. As an example, we will learn how to scan from a printer to a computer using several programs.
Quick navigation through the article
Scanner Wizard
Before you begin working with the computer settings, place the desired document in the device on the scanning glass:
- First, connect a printer with a scanner function to your computer, then go to “Start” -> “Settings” -> “Control Panel” -> “View devices and printers” and launch the “Scanner Wizard” (by clicking on the device icon), then click "Next";
- Select the image type and click “Next”;
- Check required format file (.jpg, .png), enter the name of the document and click “Next”;
- When scanning is complete, save the document to the desired folder on the desktop.
You can also place a shortcut to launch the “Scanner Wizard” on your desktop. To do this, in “View devices and printers” you need to click right click mouse over the device icon and select “Create shortcut”.
Typically, scanners and multifunction printers come with a disk with the necessary drivers and programs for working with the device. You will likely need to install software that matches your printer/scanner model.
MF Toolbox program
This program allows you to make excellent scanned images, but only on Canon devices:
- Place documents face down on the printer glass;
- Click the “Scan” button and wait for the scanner window to appear on the desktop;
- Select "Scan" and wait for the procedure to complete;
- At the end of the work, the utility will open a window in which your scanned document will be located;
- The program makes it possible to immediately edit a document and even send it via email.
Advantages of the MF Toolbox program:
- Scanning documents is fast;
- Even the oldest documents are copied to the computer with high definition;
- Easy and convenient interface.
The development of digital technologies and accompanying methods of storing and transmitting data has made it possible to abandon various paper documents in favor of their electronic analogues. This turned out to be extremely convenient. Now you can scan the document you need and instantly send it by email anywhere to any recipient connected to the Internet, without leaving your home or office. Naturally, for this you need to know the methods and be able to create scans of documents.
Let's consider available methods creating scans of documents at home using existing technical means and gadgets.
How to scan a document using a scanner
A scanner, in fact, as its name suggests, is a device specifically designed for scanning documents. Making scans using a scanner is very easy and simple.  The described algorithm may differ depending on specific model scanner and its software.
How to scan a document without a scanner
Using a scanner, you can get digital copies of documents very high quality. But you may simply not have it at the right time, and knowledge of how to scan a document without a scanner will come in handy here. At its core, any scan is a digital image of a document. Therefore, you can use any digital camera to create a scan.

It better be good reflex camera. To improve the quality of your digital copy, you can use the Macro photography, if it is present in your Camera. In most cameras it corresponds to the image of a flower on the mode switch. In this case, you will get a picture in which even the smallest details will be clearly visible.

Distortions that occur at the edges of the document, due to the structural features of the lens, can be trimmed in Photoshop. Along the way, it usually makes sense to increase the contrast of the image, especially if the photo was taken in low light conditions.
Modern smartphones also have cameras that allow them to be used to create scans. Point your smartphone camera at the document and using zoom in and out (digital Zoom), find the focal length at which the document will have better clarity. Take a photo, or better yet, a few different distances so that you can then choose the best quality one. If your smartphone is connected to the Internet, then immediately after receiving the scan you can send it to the desired recipient by email.

Scans created using a digital camera and especially a smartphone will be inferior in quality to similar documents obtained using a real scanner, but this is compensated by greater speed and versatility this method, since its implementation does not require a bulky scanner.
“Scanning” documents and photos on your phone is useful feature. Fortunately, there is very simple ways scanning documents.
Of course, a dedicated scanner will still be better if you often need to scan a large number of documents, but using your phone as a scanner will also work if you only need to scan a few documents. Here's what we recommend for Android.
Best Way to Scan Documents on Android: Google Drive
If you are using an Android device, then the best way to scan documents is the Google Drive app, which is installed on almost every Android device.
You can scan documents directly from Google Drive by clicking the "+" button in the bottom right corner of the home screen.
From the pop-up menu, select Scan.

He may ask for permission to access the phone's camera. Click Allow.

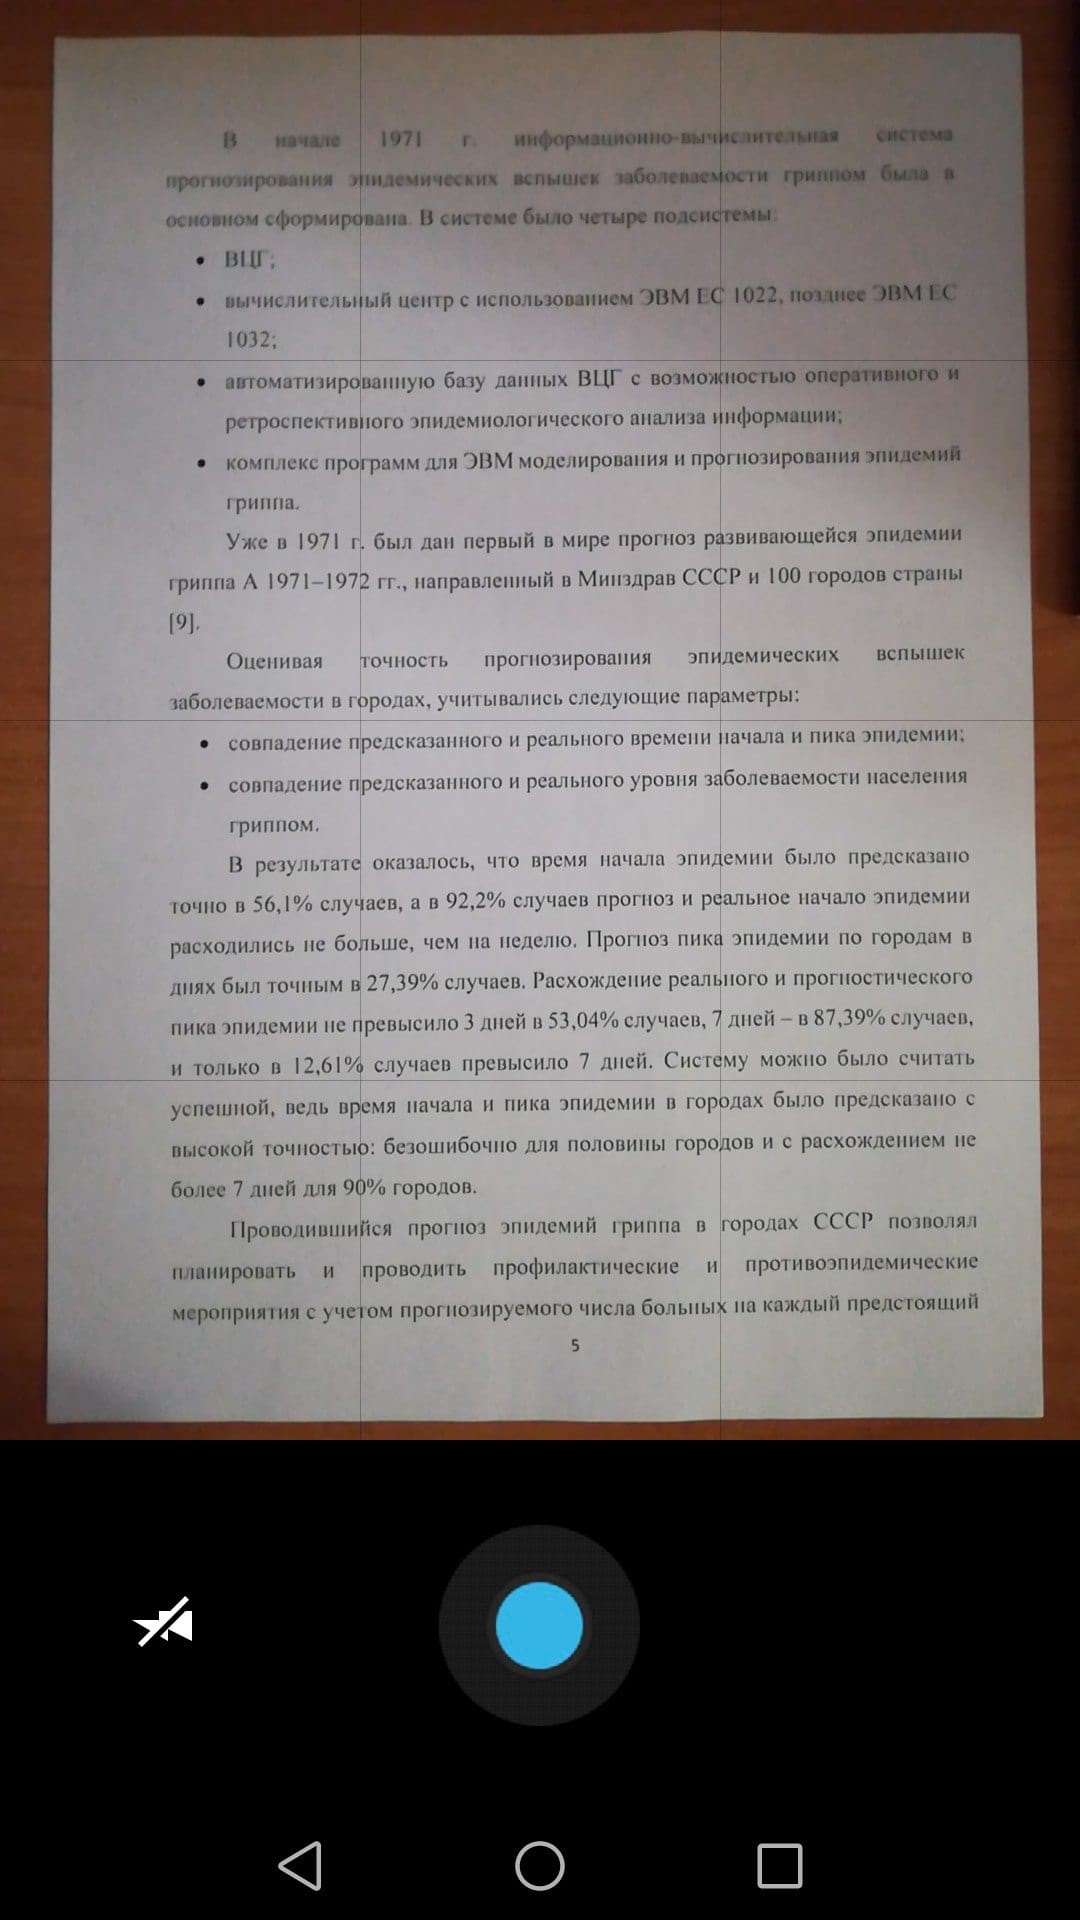
When you are ready to scan a document, position the document so that it takes up as much of the screen as possible and press the blue button. You can also use the flash by tapping the flash icon next to the capture button if your device has a flash installed. If your device does not have a flash, this option will not appear.
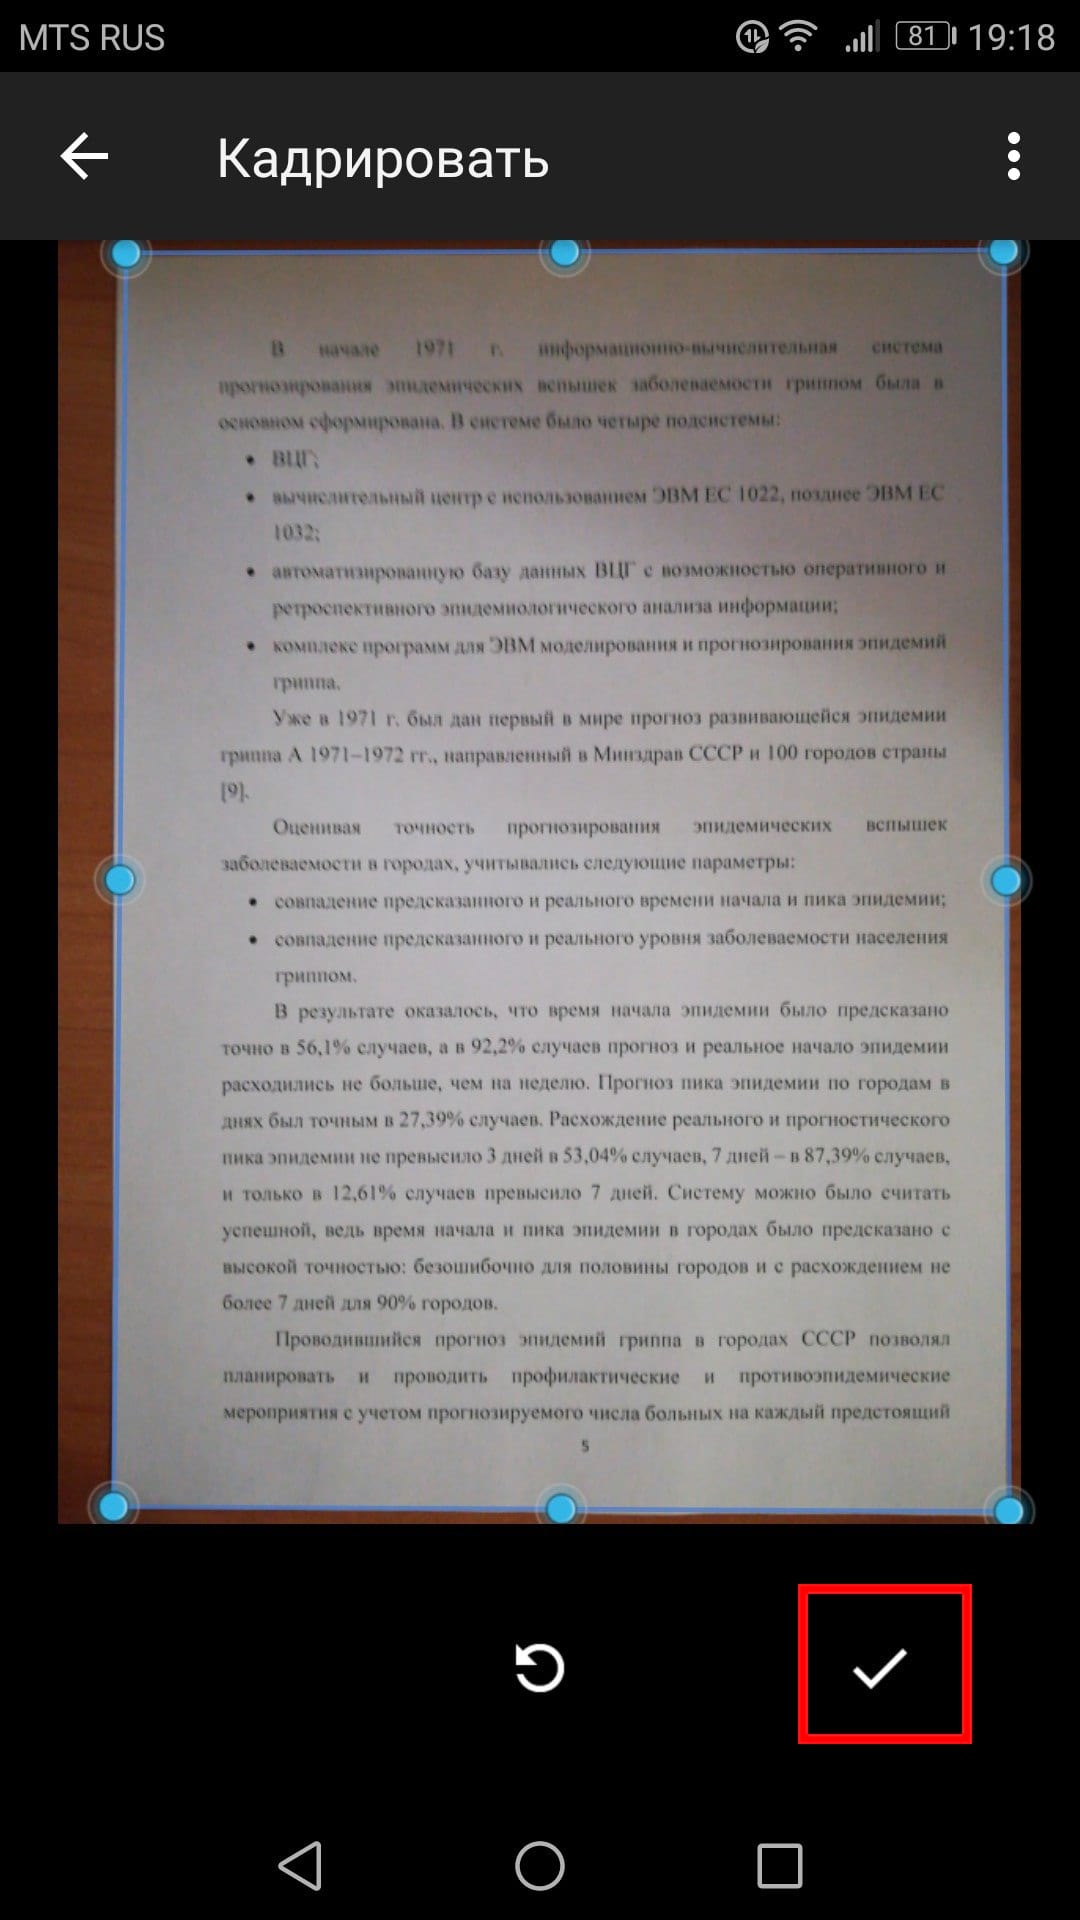
After scanning the document, the preview. Don't worry if most of the document is cut off when you view it. Click on the corresponding icon to select the area you want to save.

Touch, hold and drag the dots to change the area that is scanned.

When finished, click on the checkmark in the lower right corner of the screen.
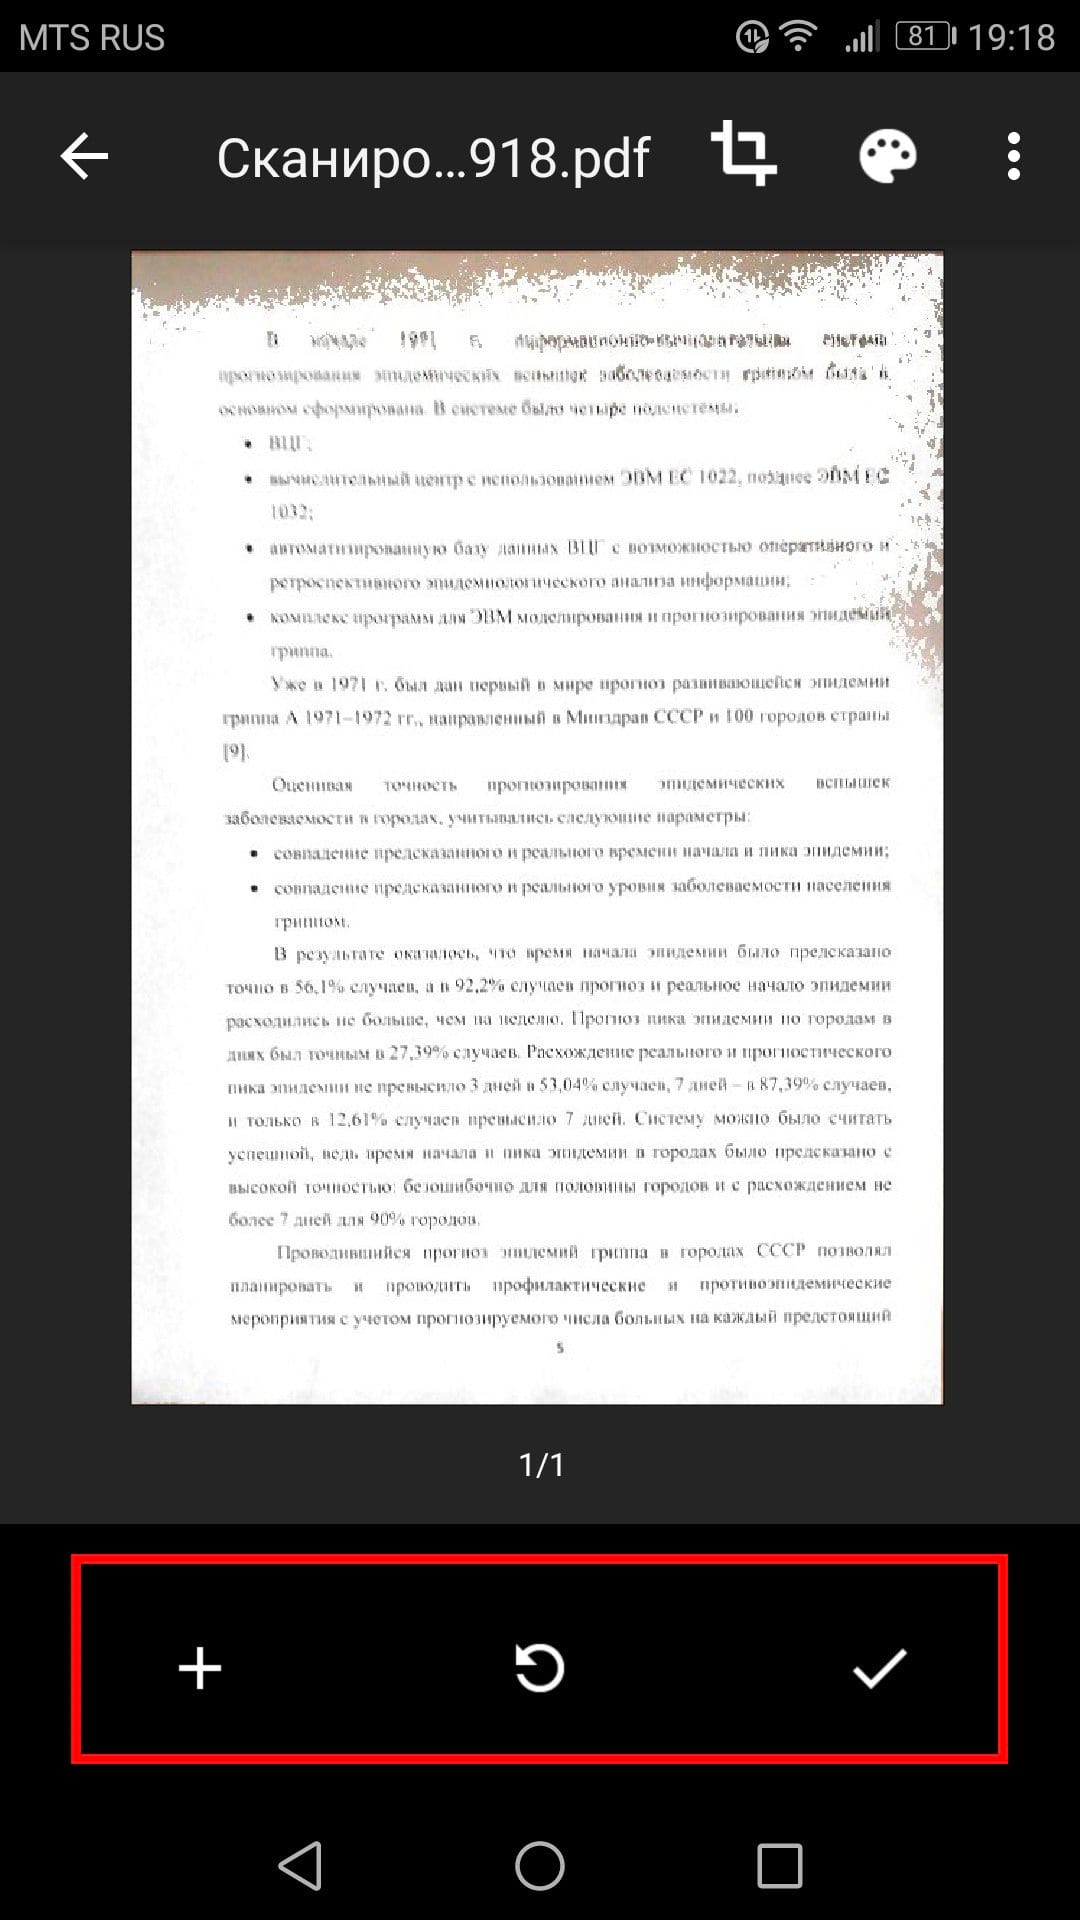
You have three options immediately after scanning:
- Click the plus sign to add more pages to your document.
- To scan again, tap the circular arrow in the middle.
- Click the check mark icon to complete and upload the document to Google Drive.
You can also make minor adjustments after scanning. For example, clicking on the palette in the upper right corner will allow you to change the scan color selection and match it to a specific document type. By default, the scanner will automatically select the one it thinks is best.

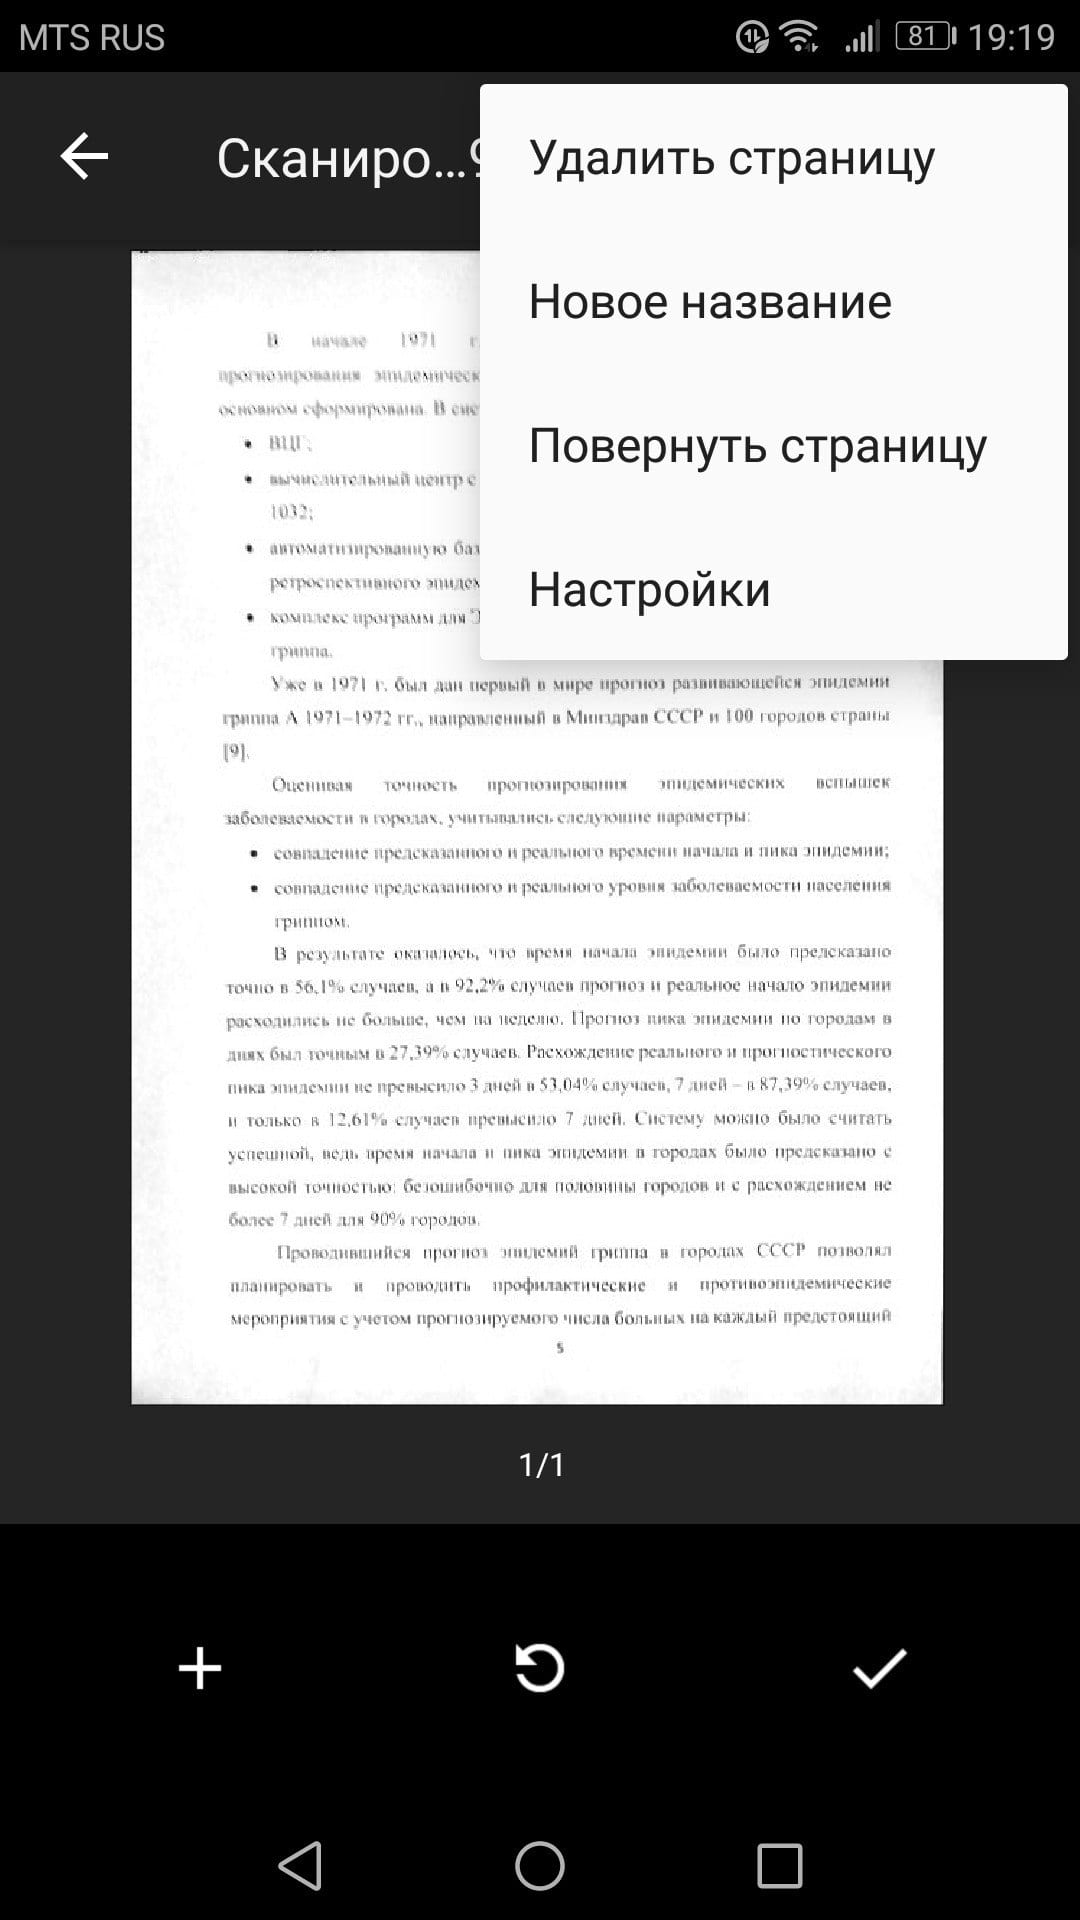
Finally, the three dots in the top right corner will allow you to delete, rename and rotate the scanned document if necessary.
Scanned documents are added to Google Drive in PDF format, and the names are added along with the word "Scanned" followed by the date and time. You can move, rename or delete any of the scanned documents by clicking the three dots next to the file name.


You will then convert this scanned PDF into a document, which you can then edit or export to Microsoft Word.
How to insert scanned text or images into Word. How to save a scanned document to your desktop
How to scan a document from a Canon printer to your computer
A Canon multifunction printer, as a rule, can not only print, but also scan and copy. The Canon company has many models that allow you to scan the necessary documents not only to your computer but also to any other gadget.
If you want to know how to scan to Canon printer, first you need to install a printer on your computer in order to be able to save the information we have already scanned in the required format and then, if necessary, transfer it to another device. How to turn on a scanner on a printer. Scanning your documents and photos to a computer from a printer is quite easy. To do this procedure, all you need is.
1. Install the drivers necessary for your printer to operate. There are two options for installing them: either you can install them from the disk that you bought along with the printer, but you can also do it without a disk. In the first option, if you have a disk on hand, issued at the time of purchase as a kit with the printer, you can safely use it. First, turn off the printer, place the disk in the desired location, and wait a few seconds. When the folder with files opens, find the file there with the extension [.exe] and run it (usually this file is easier to find, it is called Setup.exe). During installation, simply follow the steps with the wizard's prompts, reading everything carefully to avoid mistakes. 
2. Place the document on the scanner glass. In the vast majority of cases, place the printed side down, but for HP ENVY multifunction printers, place it face up.3. Turn on the printer and wait 30 seconds until it is detected in the system.4. Let's scan. Eat various ways, how to scan photos to a computer using a Canon printer: Go to “Control Panel\Hardware and Sound\Devices and Printers”.

Right-click on the printer icon and select “Start Scanning”. In the window that opens, set the necessary parameters, click “View” and if everything suits us, click “Scan”. The 3rd video on the left shows this option as an example Canon MFP. Open special scanning software that is installed on your computer with a driver for your MFP. Usually there is a shortcut for it on the desktop. There you can open the settings and set the ones you need. Paint. This utility comes bundled with Windows OS. You can launch it by opening the Start menu - All Programs - Accessories - Paint. Expand the File menu (or click on the down arrow button in Windows 7). You can also easily learn how to scan from a printer to a Canon computer. Select “From a scanner or camera”. In the window that opens, you can select the type of image to be scanned. Many users also have a question about how to photocopy a document on a Canon printer. If you don’t have time and need to quickly scan something, immediately select the desired type and click “Scan”. If you have time, you can select “Adjust the quality of the scanned image” and set more appropriate settings. 5. Save. After the scanned image appears in the program, open the menu File - Save As - Image in JPEG format. Select a directory or folder to save the document on your computer, set the file name and click “Save”. Let's see if the scanner on the printer does not work.
How to scan on a Canon printer, turn on, configure and use the scanner
DPI - resolution or dots per inch. The larger, the higher the quality of the image, the higher its resolution (the number of pixels in length and width) and the more the file will “weigh” and take up space on your computer’s disk. The higher you set the resolution, the longer the printer will process or scan the document. 100-200 dpi - if you need it quickly and you will not recognize documents. 300-400 dpi - suitable if you need to recognize text. 500-600 dpi - if you need the smallest document details. 
With a resolution of 600 dpi, the father scans old family photographs that he manages to get his hands on. There you need the maximum resolution because the quality of photos from the 20-30-40s is “not very good”. It’s convenient for me to scan at a resolution of 300 dpi. The quality of the photo is good and the text can be recognized if necessary. There is one more nuance. You can always reduce the resolution of the scanned file at the same graphic editor Paint. But you won’t be able to increase the resolution. You'll have to rescan. If you can't find where you saved the scanned document, try looking in the Scanned Documents folder. When you install printer software, it may create a "Scanned Documents" folder on your computer. Visit our website to read your printer's manual if you can't find the brochure at home, and instructions on how to use your Canon scanner. Find your printer model on the website and read the Review of the device and its Specifications. If you want, you can download necessary information to your computer. You can also use other applications on your computer to understand how to scan a document to your computer using a Canon scanner. Try editing programs graphic images or Preview on Mac. Select the “Import from scanner” action and then follow the sequence of actions described above.
topzapravka.ru
How to scan from a printer to a computer? Answer from iCover.ru
To scan a document to your computer from a printer, you must place the document in universal printer and activate the scanner function.
At using Windows XP you can use the scanner or camera wizard:
Insert the document you want to scan into the scanner.
From the Start menu, select All Programs, Accessories, and then Scanner or Camera Wizard. The Scanner or Camera Wizard window appears. Click the “Next” button.
On the Select Scan Preferences page, select the Image Type that best suits the document you are scanning, and then click Next.
On the “Select image name and purpose” page, enter the image name, select the format JPG file, and specify the folder where you want to save the scanned image, and then click the “Next” button.
Windows will scan the document. On the Other Options page, select Nothing. Then click the “Next” button.
On the Completing the Scanner or Camera Wizard page, you can view your scanned document by clicking the link provided. If the result does not meet your requirements, click the Back button to return to the Select Scan Preferences page. Click the “Finish” button to close the wizard window and open the folder with the scanned document.
If you are using Windows 7 or 8, you should use Fax and Windows scanners”:
Click the Start button, select All Programs, and then click Windows Fax and Scan.
Click the “Scan” button at the bottom of the left panel.
On the toolbar, click the “New Scan” button.
In the New Scan dialog box, click the Profile list and select Documents. The default document scan settings will then be automatically displayed and you can apply or change them.
To see what the scanned document will look like, click Preview.
To scan a document, click the “Scan” button.
note that correct work scanning on your multifunction printer with a scanning function is only possible after installing the correct device driver. You can download it from your printer manufacturer's website. You need to install the driver before starting scanning.
www.icover.ru
How to Insert Scanned Text or Images into Word
Note: We strive to provide you with up-to-date reference material in your language as quickly as possible. This page has been automatically translated and may contain inaccuracies and grammatical errors. It is important to us that this article is useful to you. Please take a few seconds and let us know if it helped you using the buttons at the bottom of the page. For convenience, we also provide a link to the original (at English) .
If you have a printed document or picture that you want to insert into Word document There are several ways you can do this.
Note: If you are looking for instructions on how to connect a scanner or copy Microsoft Windows, visit the manufacturer's support website for your device.
Scan an image into Word
To scan an image into a Word document, use a scanner, multifunction printer, digital camera or searchable copy.

Inserting scanned text into Word
The best way scanning a document into Microsoft Word will use our free application Office Lens on your smartphone or tablet. Uses your device's camera to capture information about the document, which can be saved directly in Word format as an editable document. Available for free on iPad, iPhone, Windows Phone and Android.
If you don't want to use Office Lens, the following the best option will scan the PDF document using your own scanner and reopen the PDF in Word.
More information See Edit the contents of a PDF document in Word.
Note: The accuracy of OCR depends on the quality of the scan and the clarity of the scanned text. Handwritten text is rarely recognized, so scan printed materials for best results. Always check the text after opening it in Word to make sure it is recognized correctly.
Additionally, the scanner may come with an OCR application. Consult the documentation for your device or its manufacturer.
Still have questions about Word?
Ask them on the Word Answers community forum
Help us improve Word
Do you have any suggestions on how to improve Word? Share them on Word page User Voice.
See also
support.office.com
How to scan documents from a printer to a computer
Scanning a document or photo to a computer is a frequently used operation both in everyday life and in professional activity any of us. This operation allows us to convert to digital format any document for its subsequent processing, sending to the addressee or storage.
The scanning procedure is almost the same for any peripheral devices from manufacturers such as HP, Canon and Epson. The main condition is that their hardware includes a scanner; you can’t live without it!
Even a novice computer user can scan; there is nothing complicated about it. You just need to perform a few simple steps and your scan is ready!
The process of scanning a document.
Each scanning device comes with the necessary software recorded to disk. Before starting work, you need to download the programs from the disk to your computer. If the disk is missing, then all the necessary programs can be found on the Internet, they are free to download.
Let's look at this process using the HP Photo Smart 210 MFP as an example.

This is a 3 in 1 multifunctional device: printer, scanner and copier. MFP equipped Wi-Fi module, which makes it possible to implement wireless connection with the computer. Let’s not focus on this topic, the connection with the computer is established - let’s begin preliminary preparations for scanning the document:

All! The process of scanning and saving text or photos is complete! Now you can process your scan in the editor corresponding to the document, send it by mail or send it to cloud storage!
If you have any questions, leave them in the comments!
pced.ru
If you have chosen the fast way of writing a theoretical chapter, which we talked about in paragraph 2.1., most likely you will not be able to do without scanning documents. Otherwise, you can skip this point and start taking notes on materials found in the library.
Before you start scanning, you need to decide what exactly you want to use when writing your work. And to do this, you first need to look through the available literature and highlight the necessary points with a pencil.
The first time I scanned a magazine article for my first coursework, I found the task incredibly difficult. As a result of several hours of working with the scanner and FineReader, the output was nonsense that could not be edited. In the end, I had to type everything by hand. To prevent this from happening to you, let’s take a closer look at everything technical points scanning.
To scan, we will, of course, need a scanner. You don't have to buy it. You can, for example, borrow something from a friend for a while. I use a CanoScan Lide 60 scanner. Although this is not the newest model, I really like this compact, fast and easy-to-use “device”. If you borrow a scanner, in order for it to work, you must first install the driver program. Drivers and installation instructions can always be found at installation disk, which is included with the device or can be downloaded from the manufacturer’s website. After installing the driver, connect the scanner to your computer using the connecting cord. Now you can start scanning directly.
But first, a little theory. You should know that the scanning process consists of two stages:
1. Directly scanning the document. At this stage, the scanner takes a photograph of the surface of the document being scanned and saves the resulting image to the computer as a regular file.jpg .gif or in another format;
2. Document recognition. This is the process of converting text from an image taken by a scanner into a regular test, which can then be saved in Word and edited. Recognition is carried out without the participation of a scanner, using a special program (the most popular is Adobe FineReader). This way, you can first scan several sheets of text and save them as an image before converting them to text.
So, let's start the first stage - scanning:
– launch the scanner driver: Start – All Programs – Canon – ScanGear (I indicate the driver name for my scanner). The driver window will appear:

– open the scanner lid and place a book, magazine or copy thereof with the text facing down, as evenly as possible in relation to the edges of the scanner’s working surface:
It is very important here to ensure that the scanner lid presses the scanned document as tightly as possible, preventing external light from reaching the working surface of the scanner that is in contact with the document;
– make the necessary settings in the scanner driver. The first step is to set the resolution at which the document will be scanned. Resolution is an indicator that determines the level of detail of an object when scanning and is determined in dots per inch (dpi, or dpi). The higher the resolution, the better the image quality. But, when scanning text documents There is no point in setting the maximum resolution, since it will be of zero use. In addition, scanning with high resolution takes longer. I recommend setting the resolution between 400-500 dpi. With this setting, the images are of sufficient quality for good recognition, and the scanning process itself does not take much time. I suggest looking at a screenshot of my printer settings:
 |
First you need to go to “Advanced mode”. The source will always be “Tablet” (flatbed scanner). It is better to set the color mode to “Black and white”, because we don’t need colors to scan text, and this will reduce the size of the output images. The resolution, as I said, should be set to 400 dpi. The output image size is required “A4”. Now you can safely press the “Scan” button. My scanner is designed in such a way that it first stores the scanned images in internal memory, and only when closing the driver window offers to save them to the computer. All I have to do is indicate the location where the results of the work will be saved.
You should end up with files of this type:

When you enlarge such an image, the text should be clearly visible.
The second stage is recognizing the resulting images and converting them into text. As I already said, this will require special program– FineReader. Download the program from this link (32MB). The password for the archive is diplomguide.ru. The version I propose does not require installation (portable). There will be many different files in the program folder, but you only need one - FineReader.exe. Double clicking on this file will launch the program on your computer.
This version of the program is quite old. I took all the screenshots below using it. If this version of FineReader does not run for you, select a newer one here.
The FineReader window looks like this:

After setting the language in which the documents you previously scanned were printed, you can begin recognition. If the text contains two languages at once (for example, Russian and English), make the installation accordingly.
To start recognition, click on the arrow to the right of the first Scan button - and then - Open image:

The image selection window will open. Open the folder where you saved the scanned images, press CTRL + A (English) on your keyboard and click on the Open button.

After this, thumbnails of the added files will appear on the left in the FineReader window, in the center - on at the moment the selected sketch is enlarged, below is an even greater increase, and on the right is the recognition result:

For example, I took only two images. The first of them is highlighted in the screenshot above; we can recognize it now. As you can see, the image was scanned vertically; in order to recognize the text, the image must first be rotated 90 degrees. To do this, use the and buttons. The next step is to tell the program which part of the image needs to be recognized, and also set the type of data that should be output: text, table or image. There are buttons for this, respectively: . For example, if you need to mark a text block, left-click on , then left-click in the upper left corner of the text block and, holding the left button, drag it to the lower right corner. For example, I have fully prepared one image for recognition:

As you can see, all the text blocks in the example above are highlighted in green, and the pictures are highlighted in red. Tables are prepared for recognition in the same way. This is what the button is for. To move to the next photo, left-click on its thumbnail on the left. In this way, all images obtained as a result of scanning are prepared for recognition. After the preparation of the images is completed, you should select them all. To do this, left-click on an empty space in the thumbnail panel (it's called Package) and press Ctrl+A (English) on your keyboard. Next, click on the button and wait while FineReader converts the images into text. After this, you can save the resulting text in Word using the button, after clicking on which the Save Results Wizard window will open. In it you need to select the format for saving - Microsoft Word, and also check the box so that all pages are saved:
After clicking OK, the program will create a Word document and insert text from the recognized pages into it in the order in which they are located in the thumbnail panel (Batch). Immediately save the received document to a folder in file structure thesis and you can start editing. How this is done is described in my free course.
And one last point. If you scanned a newspaper or magazine, the text there is often given in the form of columns (as in the example above). These columns in Word need to be converted into one. Select the text in the form of columns and run the command: Format – Columns – One – OK. Only after this can you set Portrait orientation in Page Setup, margin padding, font, etc.
How to scan a document and recognize it in MS Word
diplomguide.ru
Scan and edit a document - Word
Scan a document to PDF and edit in Word
Tip: Conversion works best with documents that contain primarily text.
Scan the document according to the scanner instructions and save it on your computer as a PDF file.
In Word, choose File > Open.
Navigate to the desired PDF file on your computer and click Open.
A message appears indicating that Word will convert the PDF file to an editable Word document. Click OK.
The converted document can be a suitable page-to-page match from the original cell. For example, lines and pages may break in different places. For more information, see Open PDF files in Word.
See also
Edit the contents of a PDF file in Word
Save as PDF
The option from a scanner or camera to scan pictures and documents is not available in Word 2010. Instead, you can use the scanner to scan the document, and save the file on your computer.
Program Microsoft Office Document Imaging has been removed from Office 2010, but you can install it on your computer using one of the options described in Install the MODI application for use with Microsoft Office 2010.
Find and open Microsoft Office document images to Manage Microsoft Office document images from the Windows Start menu.
From the File menu, select Open.
Find the scanned document and click Open.
After you launch Microsoft Office Document Imaging, press CTRL+A to select the entire document, and then press CTRL+C.
Launch Microsoft Word.
On the File tab, click New.
Double-click New Document.
Press CTRL+V to paste the contents of the scanned document into new file.
The option from a scanner or camera to scan images and documents is not available in Microsoft Office Word 2007. Instead, you can use a scanner to scan the document, and save the file on your computer.
Step 1: Install Microsoft Office Imaging Document
Quit all programs.
Tip: We recommend that you print this section before closing all programs.
Open Control Panel: Right-click the Start button and then select Control Panel, or type Control Panel into the Windows search box.
In Control Panel, click Programs and then Programs and Features.
Right-click the edition name of Microsoft Office installed, or right-click Microsoft Office Word 2007 (depending on whether Word is installed as part of Office or as a separate program), and click Change.
Select Add or remove features, and then click Continue.
Under Installation Options, click the plus sign (+) next to Office Tools.
Click the arrow next to Microsoft component Office Document Imaging, select the Run everything from my computer option, and then click Continue.
Step 2: Create a document that can be edited
Scan the document following the instructions for your scanner.
Before proceeding, convert the resulting file to TIFF format. To do this, you can use Paint or another similar program.
You now have a document that can be edited. Don't forget to save the new file so you don't lose your changes.
support.office.com
How to scan a photo or text into a file, and then transfer the scanned file to Office? | Computer for beginners
How to scan a photo or text into a file, and then transfer the scanned file to Office?
November 26, 2011 Svetlana KozlovaSo today you will learn how to scan a photo and transfer it to Microsoft document Word.
To insert a photo or image into a Microsoft Word document, you should follow these steps.
- In the toolbar, find the “Insert” tab and select “Drawing” from the drop-down menu

- In the “Picture” menu, go to “From a scanner or camera”

- Find your scanner in the drop-down list and wait until the scanning process completes
To recognize text and transfer it to Microsoft Word is better just fits ABBYY program FineReader. Text recognition in it occurs as follows:
- To start scanning, click the “Scan” button in the main menu of the program

- After scanning is completed, click the “Recognize” button

- Select “Microsoft Word Document” from the drop-down list

That's all. Happy scanning!
Useful free video courses: Do you want to learn how to make money on a computer? Subscribe to free video lessons “5 HONEST SERVICES FOR EARNING EARNINGS ON THE INTERNET”!YOU WILL BE AS A GIFT COURSE ON EARNING BITCOINS ON A MACHINE WITHOUT INVESTMENTS ON YOUR COMPUTER!
Do you want to learn how to buy cheaply on Aliexpress and earn money yourself? Subscribe to free video lessons “How to buy cheap on Aliexpress and make money?”!
PRESS THE "CTRL" AND "D" KEYS AT THE SAME TIME to quickly PUT THIS PAGE ADDRESS IN YOUR FAVORITES and return to it later...
Many of you, more often or less often, are faced with the need to transfer information (text, graphics, photographs) from paper to a computer. The main assistant in the solution this issue– scanner. It could be like independent device, and MFP with scanning capabilities.
Preparing to scan from your printer to your computer
In order to begin the scanning process itself, you must have a computer and a scanner (or an MFP with the latter function) at your disposal.
- Turn on the computer and printer.
- Connect the MFP (or scanner) to a power source and to your computer.
- Place the document, book, photograph or other paper medium from which information should be read with its front side on the scanner glass.
This completes the preparatory stage.
How to scan an image from a printer to a computer
Paint program
The presence of this graphic editor will help you carry out the procedure for transferring data to your computer easily and quickly.
- Run Paint program. To do this, click on its shortcut (icon) on the desktop or go to “Start” - “All Programs” - “Accessories” - “Paint”.
- In the upper left corner of the program that opens, go to the “File” menu or click on the white rectangle with a drop-down list (in the same corner).
- In the list provided, select “Get image” – “From a scanner or camera” (or “From a scanner or camera”). If this menu item is not active, it means the scanner is not ready for operation (check the connection of the device to the power source and the computer).
- A window appears on the screen in which you select required device– your printer, type of image being scanned (color or black and white).
- Afterwards, press the “Scan” button.
- Ready. Here is a scanned image that you can edit if desired.
- To save the picture, go to the “File” menu and select “Save As,” indicating the path in the directory where the resulting file will be stored. The most common saving formats are .JPEG and .png.
Using a scanning app
- Install the necessary drivers for your printer on your computer. To do this, you can use the disk that came with the device, or download them from the Internet.
- Go to “Start” – “Devices and Printers” (or “Start” – “Control Panel” – “Devices and Printers”).
- Right-click on your printer icon and select “Start Scan” from the drop-down list.
- A window opens in which you set scanning parameters: the type of source document, color or black and white image will be received, the resolution of the finished image, in what format the file will be saved.
- Click the “Scan” button.
- As a result, a scanned image will appear on the screen, to which you assign a name and indicate the path to place it on your computer.
Image resolution when scanning from printer to computer
Permission is one of important parameters final image. It is he who determines the detail (clarity) of the picture. For text documents, you should not set excessively high values - this is not necessary, and more time will be spent on the scanning process. And remember that you can reduce the resolution of the resulting image (in a graphics editor), but you cannot increase it; you will need to rescan the document.


