Read how to prevent automatic connection or remove one of the Wi-Fi networks in Windows 10. The system automatically connects to Wi-Fi networks that you have previously connected to. In Windows 10, you can choose not to automatically connect to certain networks. The OS will remember the password and other details, but will only connect when the connection is manually initiated.
This is useful for public Wi-Fi networks that you don't want to connect to automatically, especially if they require browser authorization or the speed is poor.
Content:Deny connection in Windows 10
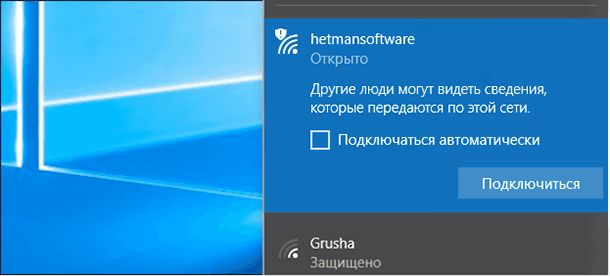
To prevent Windows from automatically connecting to a Wi-Fi network in the future, you can simply select this option when you connect to a network. When you select a network from the Wi-Fi pop-up menu, uncheck "Connect automatically" before connecting.
If you are not currently in range of a network, you will not see it on the Wi-Fi panel. However, you can edit the saved profile on your system to change this setting.
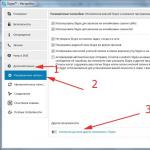
To do this, open "Settings" > "Network and Internet" > Wifi. Click the link Known Network Management.
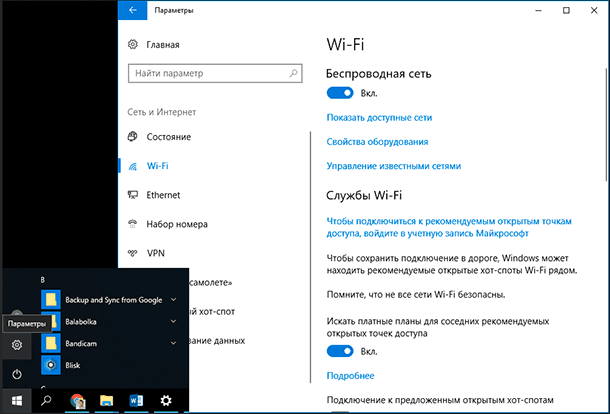
Select the network you want to change from the list and click "Properties". You can use the search box or filter options to find the network you are currently looking for.

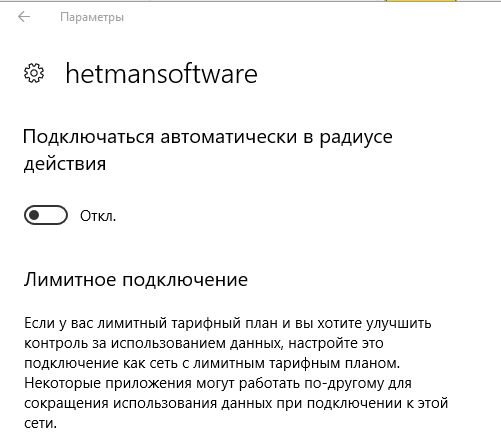
Set option "Connect automatically within range" into position "Turn off". Windows will not automatically connect to the network, but you can manually connect to the network without re-entering your password and other settings.
Removing a network in Windows 8 or 7
This option is not available in Windows 7 and 8. If you have Wi-Fi network credentials, the system will automatically connect to it. The only way to prevent automatic reconnection to a saved network is to delete it. This means that you will have to re-enter your Wi-Fi password and other credentials if you ever want to use it in the future.
To delete a network in Windows 7, go to Control Panel > View network status and tasks > Wireless Network Management. Select the Wi-Fi network you want to forget and click .

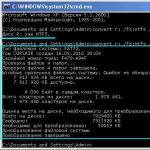
On Windows 8 you must use the command netsh from the command line to delete a saved Wi-Fi network.
To do this, launch a command prompt window and run the following command, replacing the name with WiFiName to the name of the saved Wi-Fi network.
netsh wlan delete profile name=”WiFiName”