Hello friends, today I will again touch on the topic of bootable media. I have already written many materials on how to create a bootable USB flash drive. They cover a bunch of tools that allow you to do this. Perhaps I will list these articles below. And today we'll see.
First, let's see how to burn the image to disk, and then to a USB flash drive. This can be done using the UltraISO utility.
How to burn an image to disk using UltraISO
The well-known UltraISO imaging program allows you to write something to optical media, but also has many other useful features. I would like to review this wonderful program, but is it necessary? Write in the comments.
To burn the image to disk, you must first run UltraISO. Choose a section "File" and click "Open". Select an image, for example, Windows.
The window is divided into four parts, the first section shows the directories inside the image, the second section contains files and folders. If the files are loaded in the window, then the image was selected successfully.
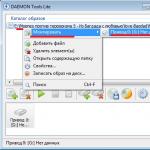
Next, go to the tab "Tools" by choosing the option "Burn CD Image"(or click the button F7). In addition to the above, there is already a corresponding icon on the utility's taskbar, which means writing to a disk, it is shown as a burning optical disk.
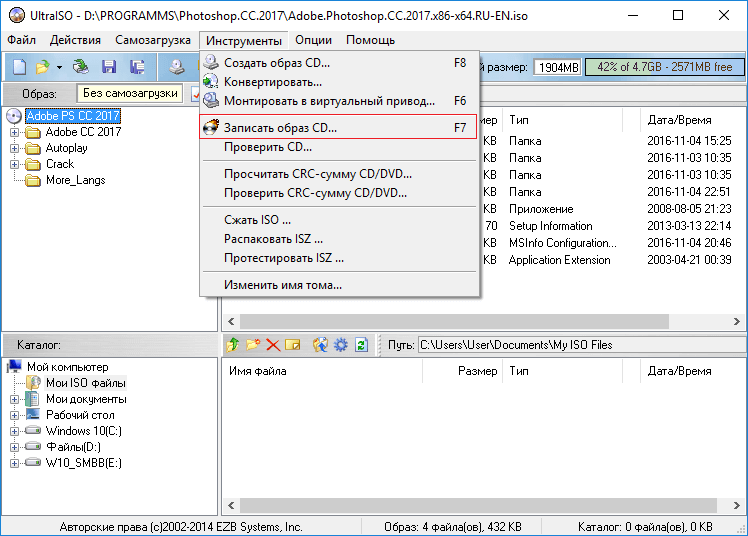
DoktorSmm is one of the best SMM services for promoting social networks. Here you can get very cheap promotion services for pages, communities and channels. At the same time, you will be provided not only with low prices, but also guarantees for the high-quality execution of any order, as well as for the protection of all payments made.
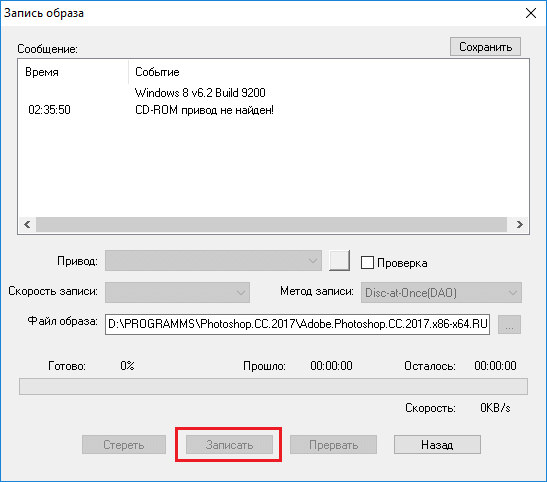
A window opens where we press the button "Record". Before doing this, do not forget to insert a disc into the drive.
(At the time of writing the article, I did not have a disk drive in my laptop, instead it was hard, so you see such a screenshot, but if you have a disk drive, the burn button will be active!)
As you can see, burning an image to disk using UltraISO is very easy. The disk can be used for its intended purpose.
Well, here we come to the true topic of the article. Let's not delay, but let's get straight to the point.
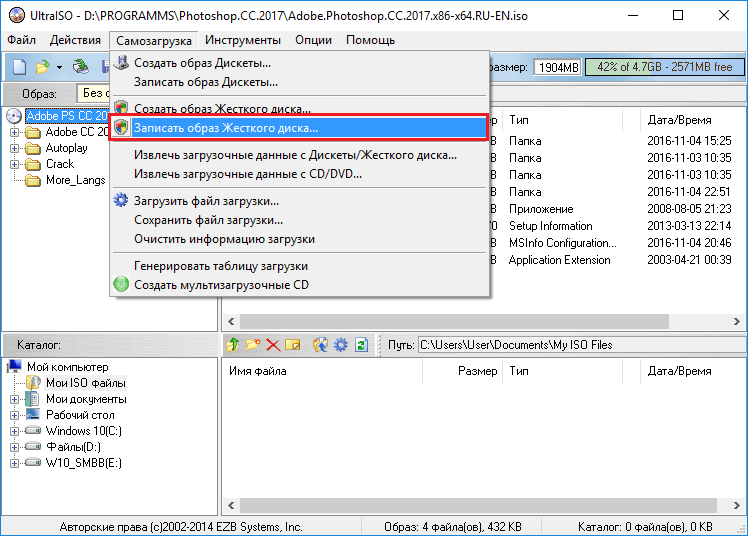
Now it is desirable to run UltraISO with elevated privileges. Then select the desired image, as I described above.
In field Disk drive choose your flash drive. Usually it is determined automatically. We leave the recording method USB-HDD+. Click the button "Record".
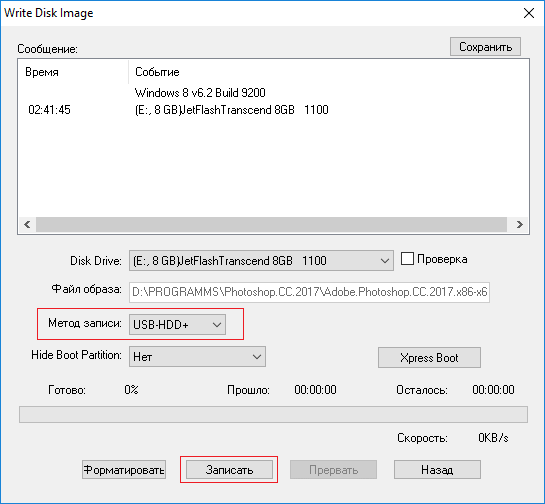
A message will appear warning that data on the drive is being destroyed. Agree by clicking on the button "YES".
When the creation of a bootable USB flash drive is completed, the message "Recording completed" will be displayed in the window.
The flash drive is ready to use.
How to make bootable media using Windows tools
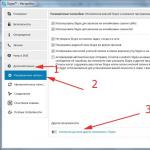
On modern Windows systems, the image icon looks like this.
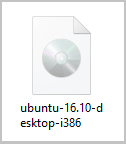
This means that the system already has a built-in tool for working with images. For example, by double-clicking on the icon, you will connect a virtual drive.
You can do it as follows: right-click on the image and select the option "Burn Disc Image".
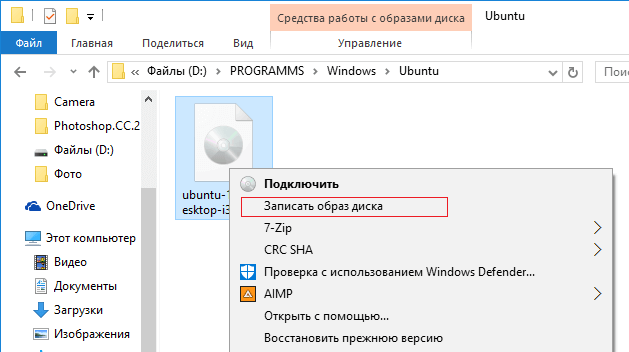
A tool opens where we select the drive and press a single button - "Record".

Here I showed three more options for creating bootable media. Now you know how to burn an image to a USB flash drive via UltraISO, to an optical disc, and how to use the standard Windows tool to burn images.